
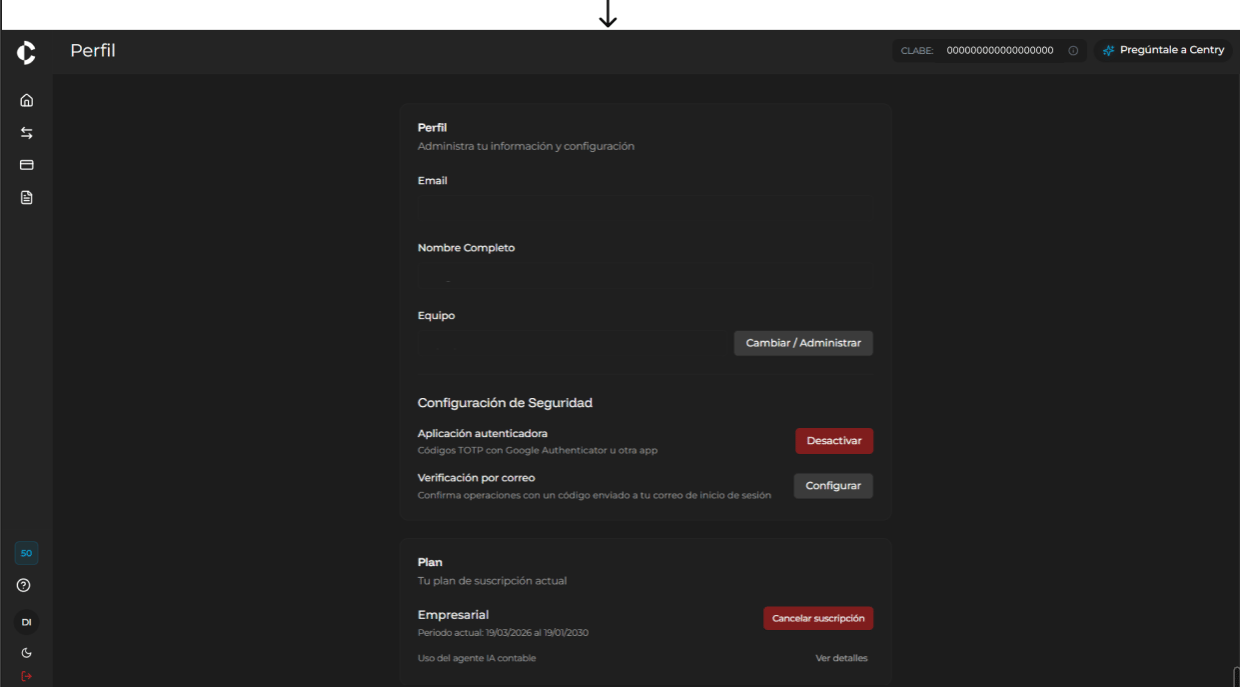
Profile Information
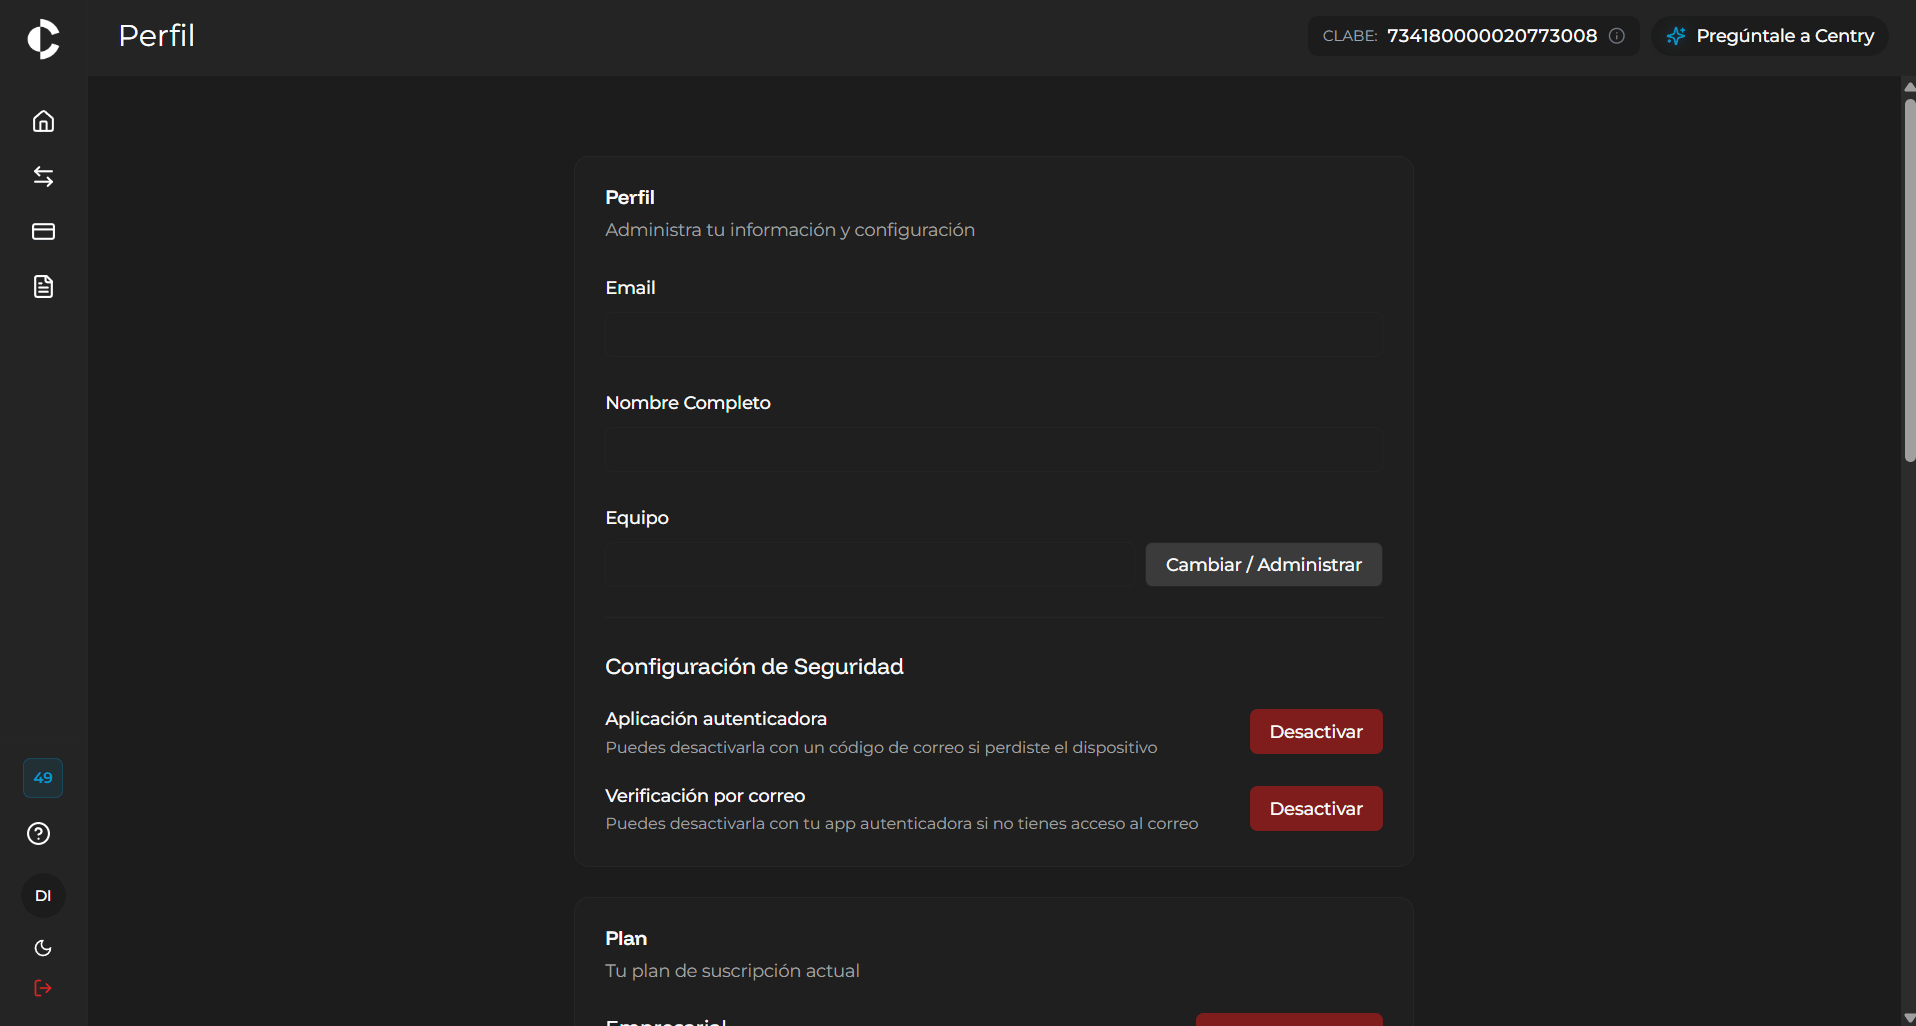
In the Profile section, the system displays the user’s identifying details:- Email: Email address associated with the account.
- Full Name: Primary user’s name.
- Team: Name of the assigned team or group within the organization. From this option, the user can select “Change / Manage” to manage their team assignment.
Security and Verification Settings
In the Security Settings section, the system allows managing enhanced authentication mechanisms to protect account access:- Authenticator app: Management of TOTP codes using applications such as Google Authenticator or Microsoft Authenticator. The user can enable/disable this method by selecting “Disable” (if currently active) or “Configure”.
- Email verification: Option to confirm sensitive operations by receiving a code sent to the login email address. To enable it, the user must select the “Configure” option.
Subscription Plan
In the Plan section, the system presents information regarding the current service level:- Plan Type: Displays the contracted plan option (e.g., Enterprise).
- Current period: Validity of the active billing cycle.
- Accounting AI agent usage: Allows checking usage and metrics via the “View details” option.
- Cancel subscription: Action button to manage cancellation or modification of the current plan.
Company Information
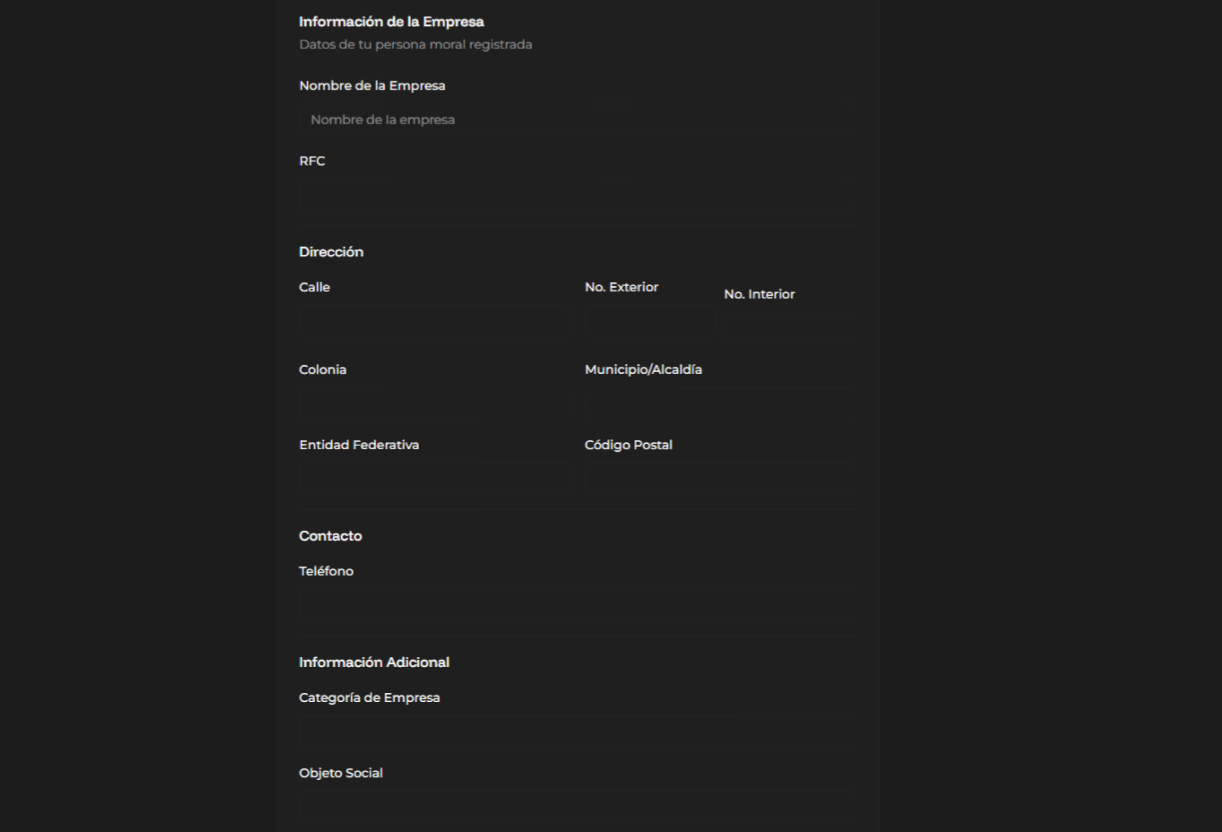
Scrolling down the screen displays the Company Information panel, detailing the registered legal entity data:- Identification: Company name and RFC (Tax ID).
- Address: Street, Exterior No., Interior No., Neighborhood/Colonia, Municipality/Borough, State, and ZIP Code.
- Contact: Primary company phone number.
- Additional Information: Company category and registered Corporate Purpose.
Configuration and activation of 2FA code (Authenticator App)
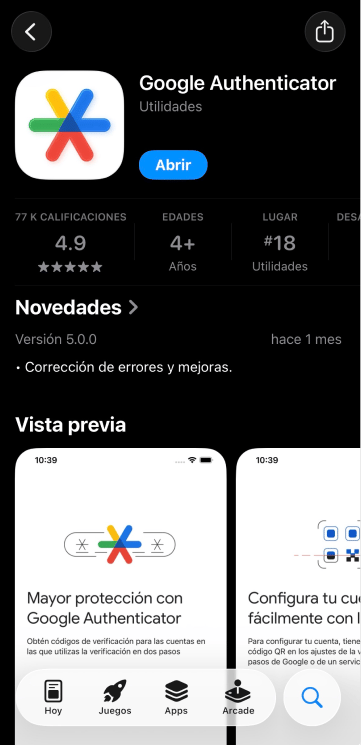
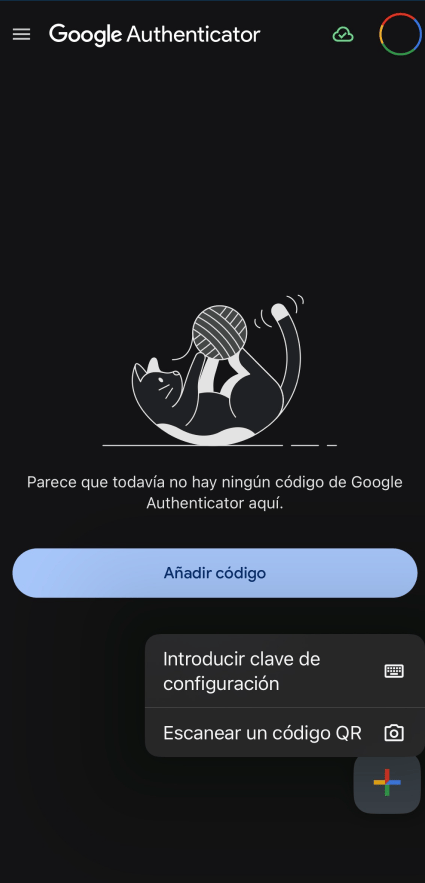
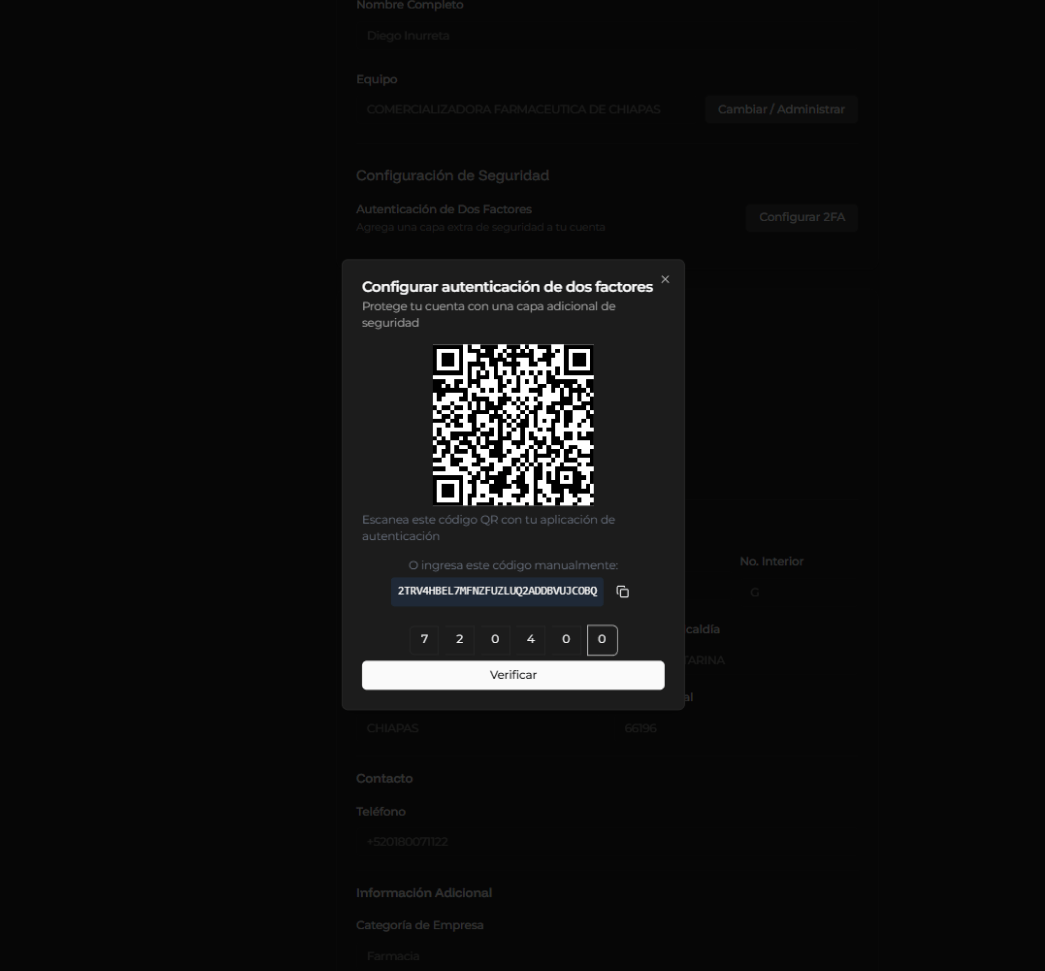
To activate the Authenticator app from the security module, the user must select the “Configure” option. The system will initiate the pairing flow requesting the use of a compatible application (such as Google Authenticator).- App Installation: On your mobile device (iOS or Android), access the App Store or Google Play Store, search for, and install the Google Authenticator app.
- QR Code Scanning: Open the mobile app, select the option to add an account, and choose “Scan a QR code”.
- Screen Scanning: Point the phone camera at the QR code displayed on the screen within the system.
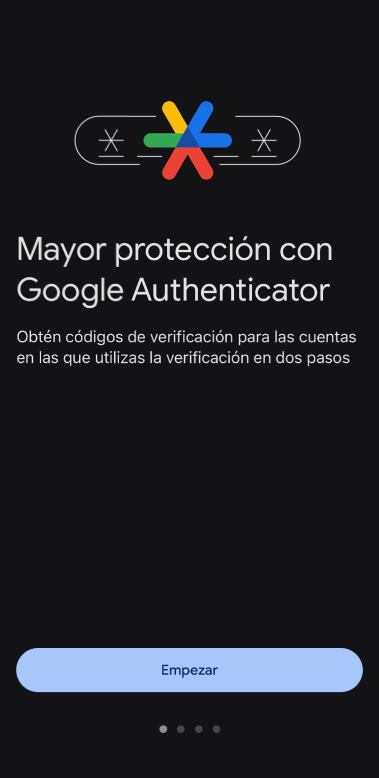
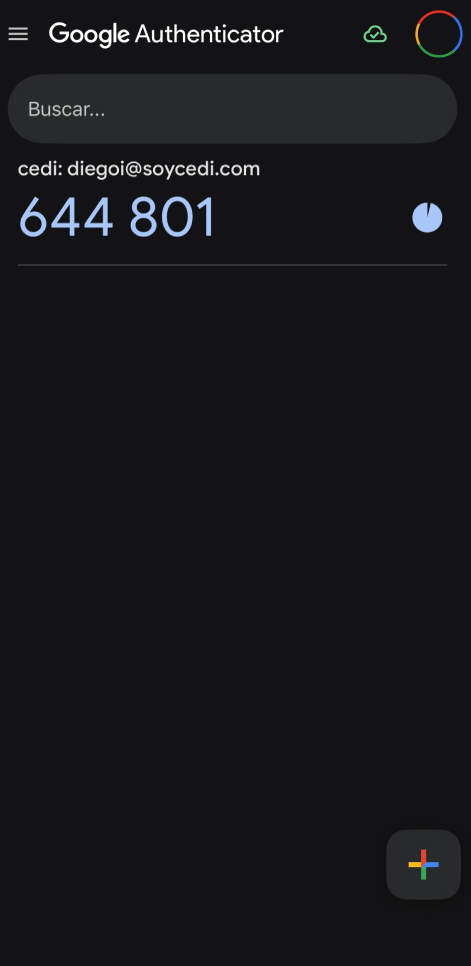
- Temporary code generation: The app will start generating 6-digit dynamic codes that refresh periodically (approximately every 30 seconds).
- System confirmation: Enter the active dynamic code shown on your phone into the text field on the platform and confirm the operation.
Email Verification Setup and Activation
To activate Email Verification from the security module, the user must select the “Configure” option located next to Email Verification.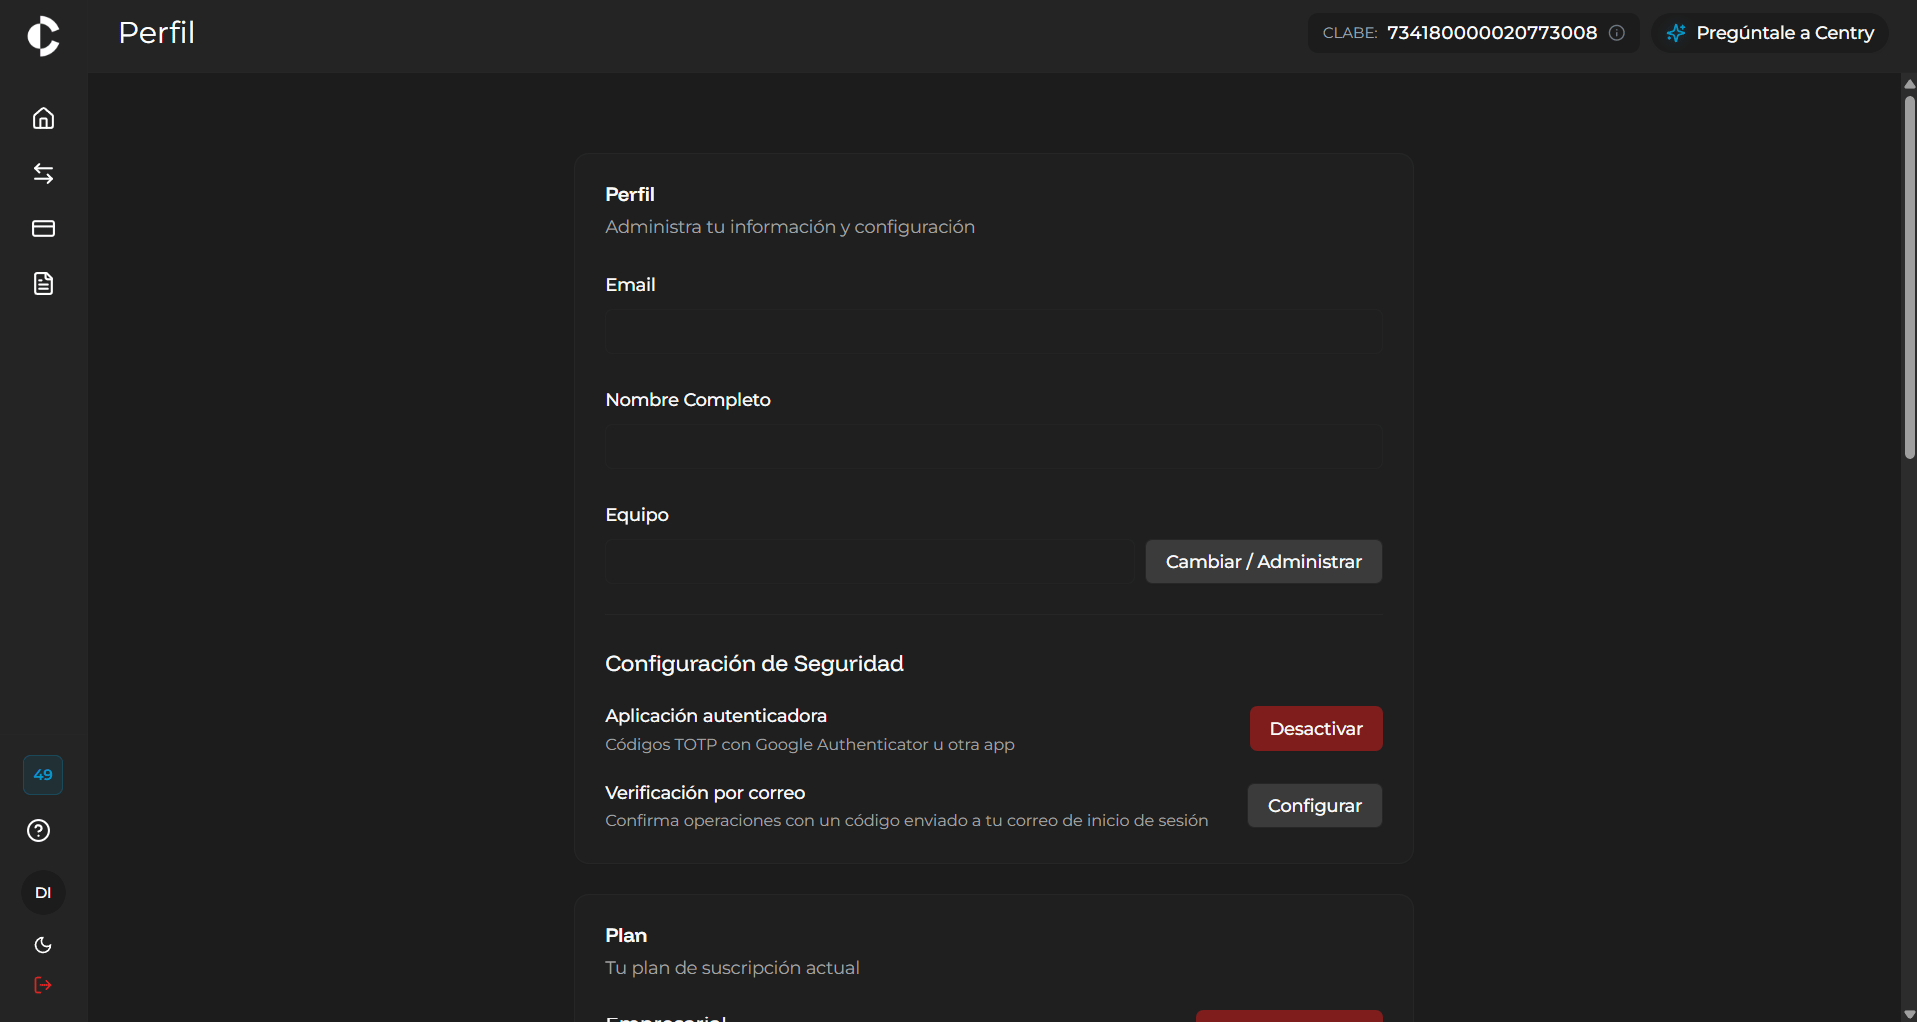
-
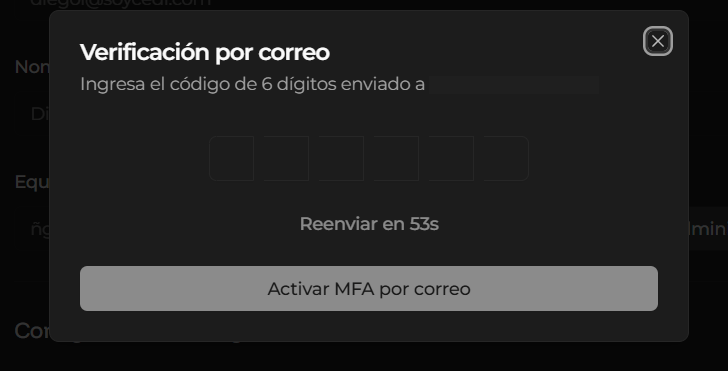
Code request: The system will display the “Email Verification” modal window, indicating that a 6-digit code has been sent to the user’s registered email address.
-
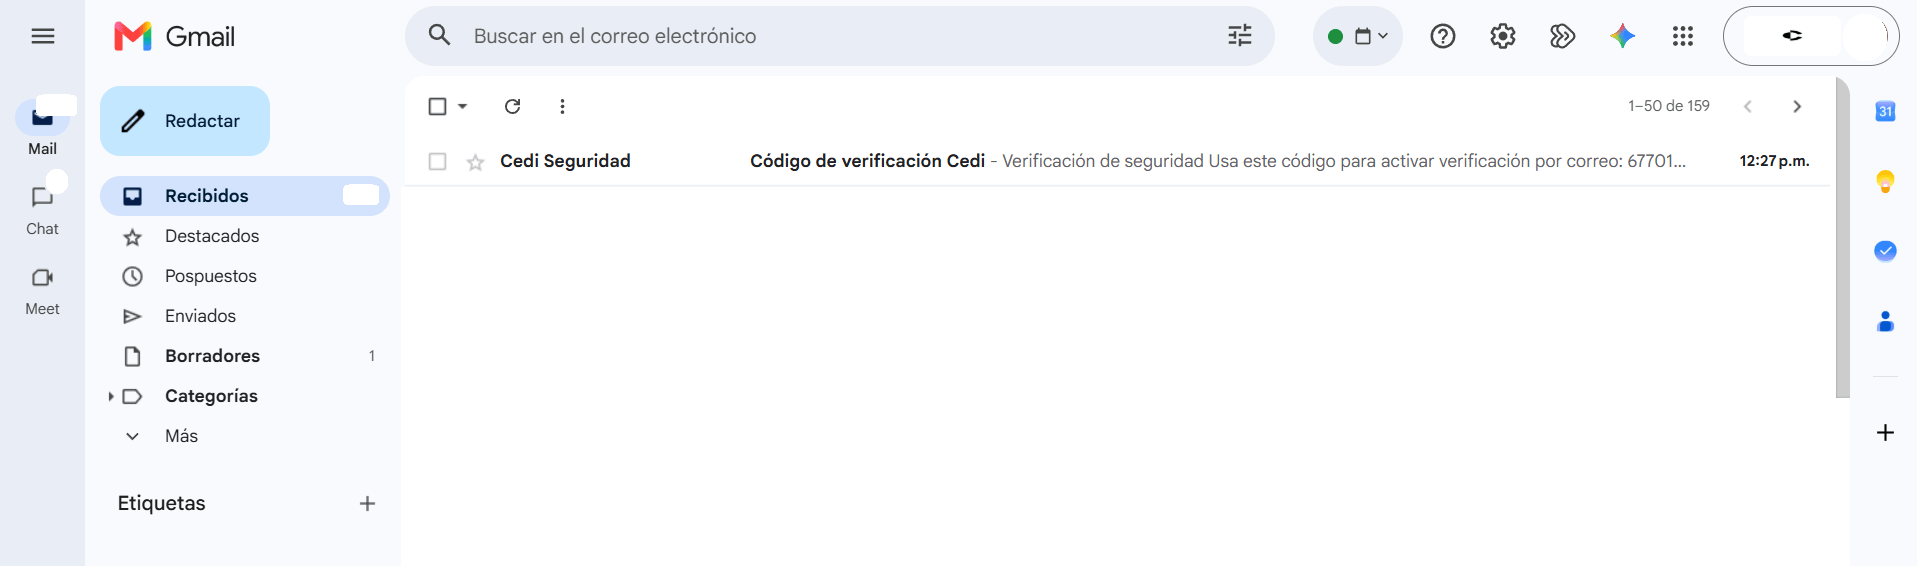
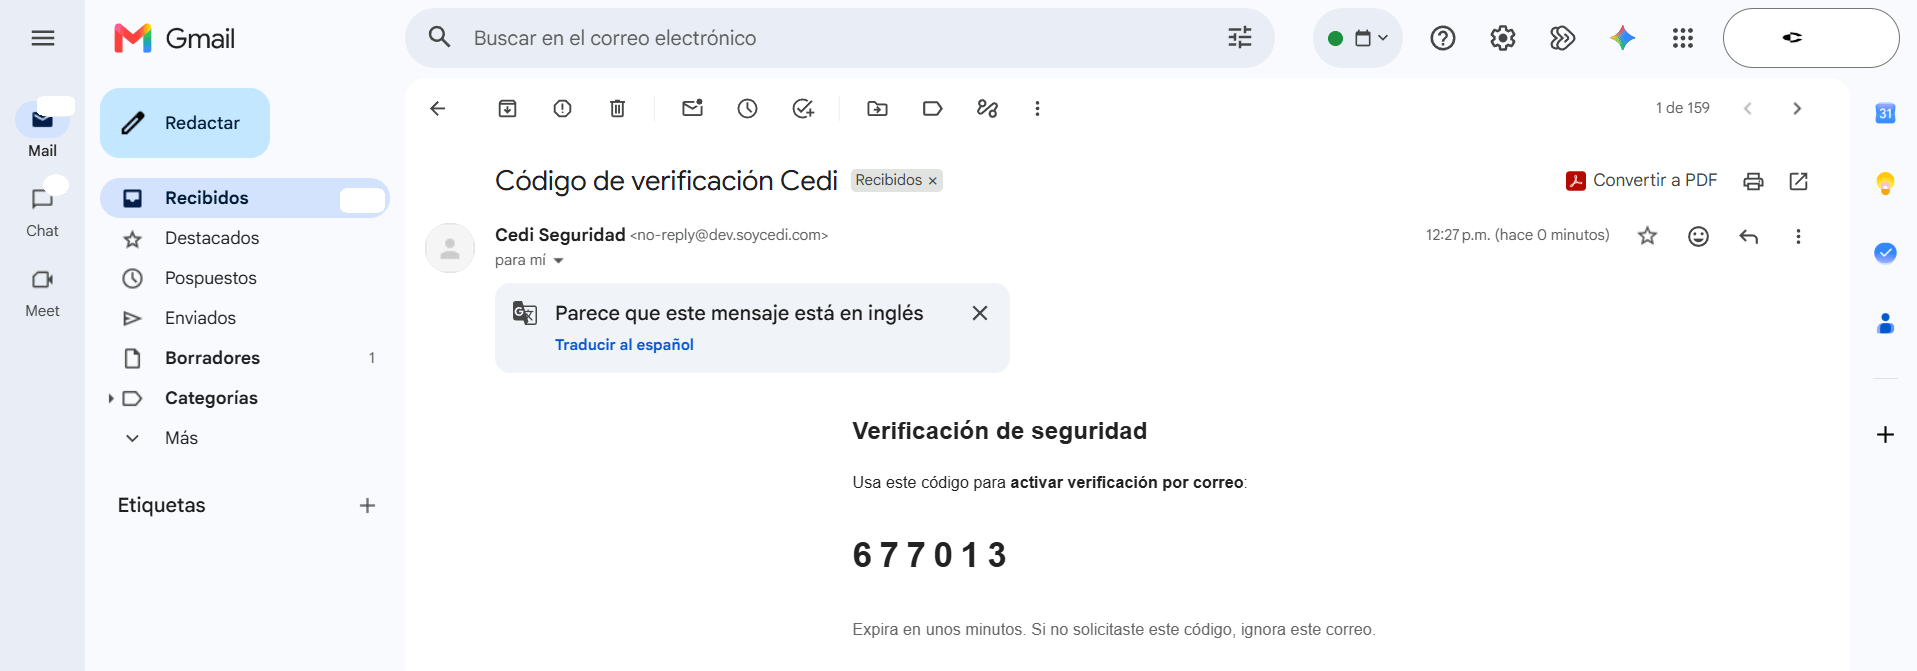
Email receipt: Open the inbox of the associated email account. The system will send a message with the 6-digit verification code. If necessary, a new resend can be requested after the waiting time indicated on the screen has elapsed.
-
Code entry and activation: Enter the 6 digits in the corresponding fields within the modal window and select the “Activate Email MFA” button.
- Confirmation method selection: The system will display the “Deactivate email verification” modal window, where the user must choose the method to confirm the operation:
- Authenticator: If they prefer to validate the action using their authenticator app (TOTP).
- Email (Send code): If they prefer to receive a confirmation code by email.
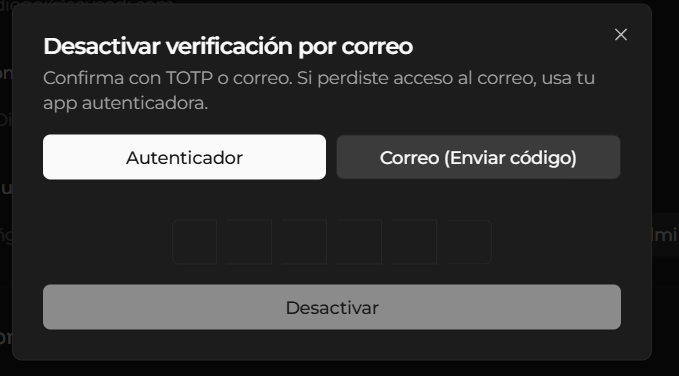
- Validation code entry: Enter the 6-digit code (obtained from the authenticator app or the email sent) in the corresponding fields.
- Confirmation: Click the “Deactivate” button to process the request.