Document selection (optional)
When starting a new transfer, the system displays the “New Transfer” screen, where you are asked to indicate whether you wish to attach documents related to the operation. You can upload any of the following files:- Invoice
- Bank statement
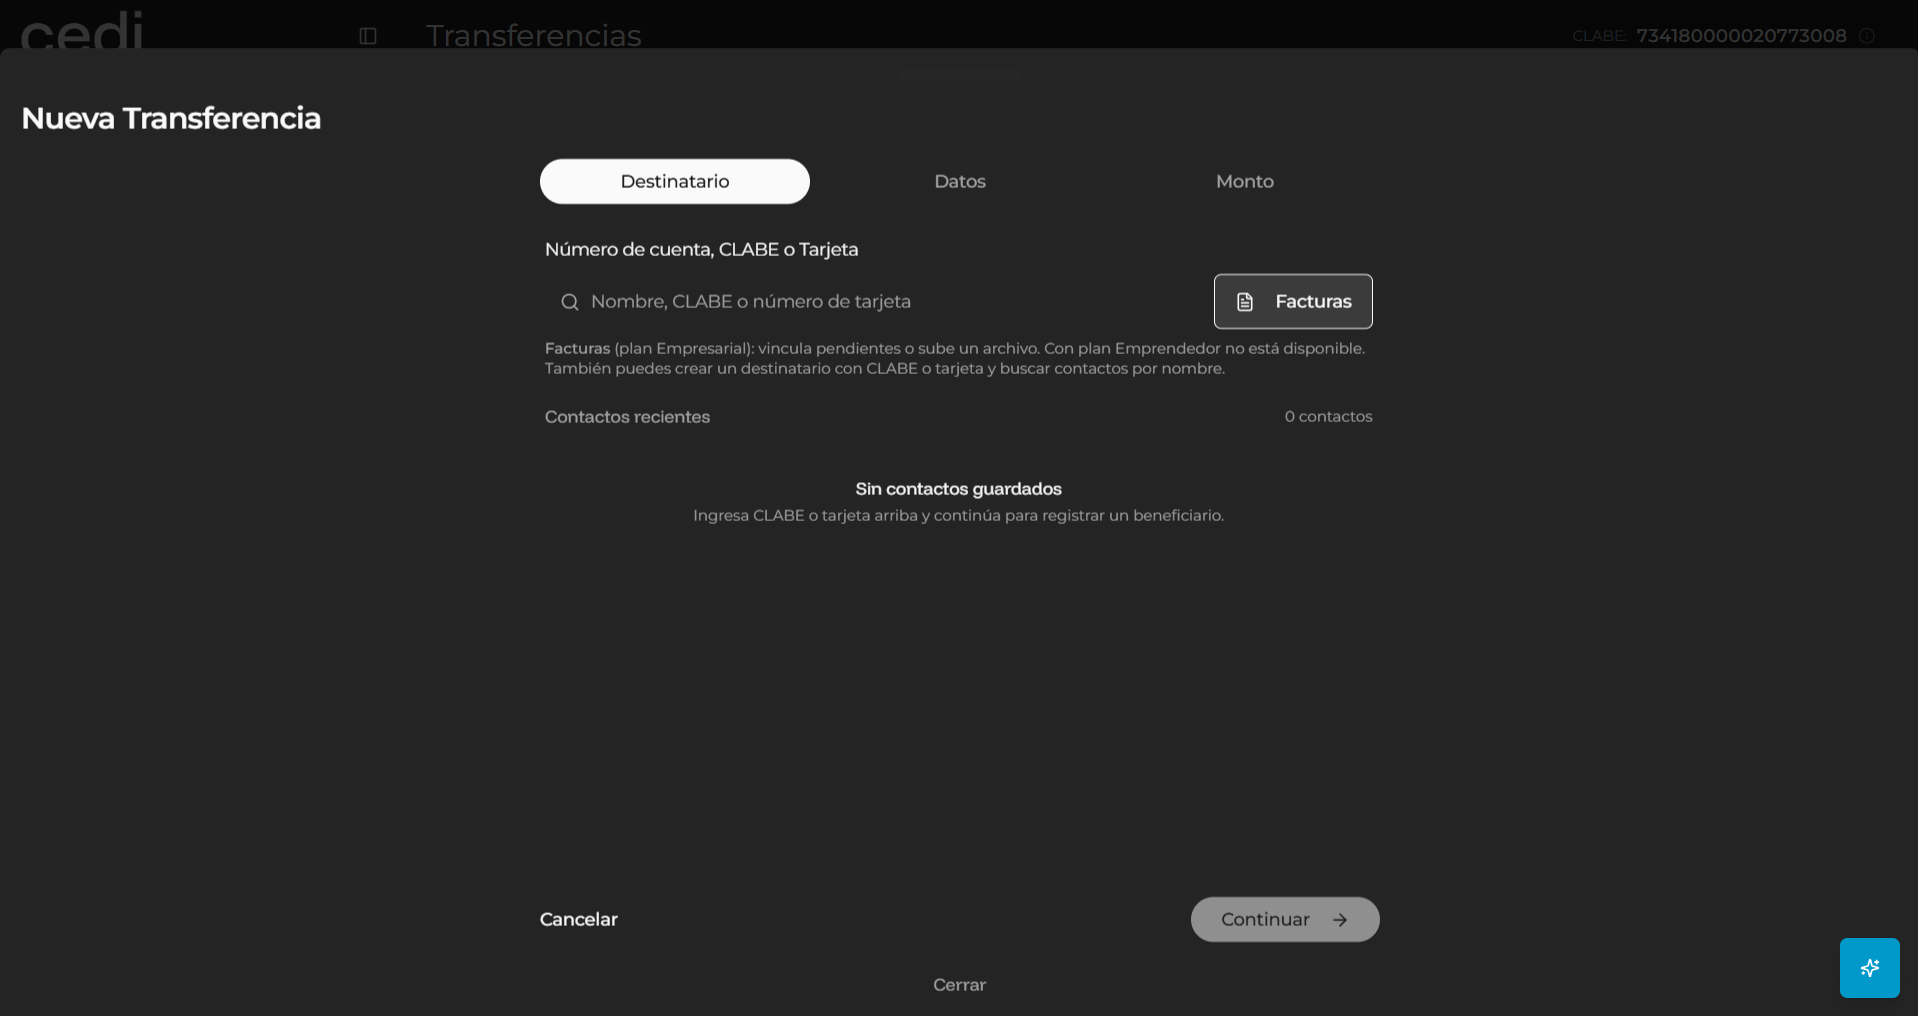
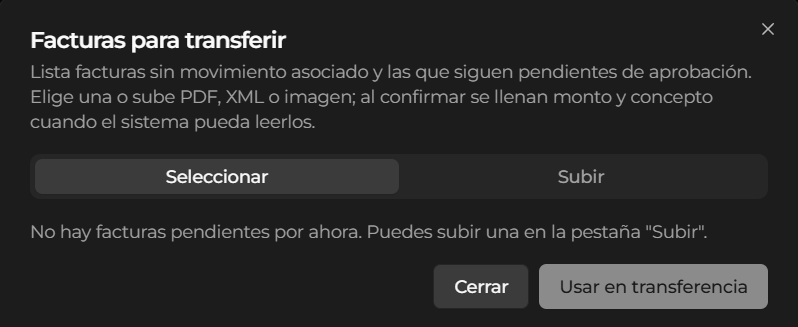
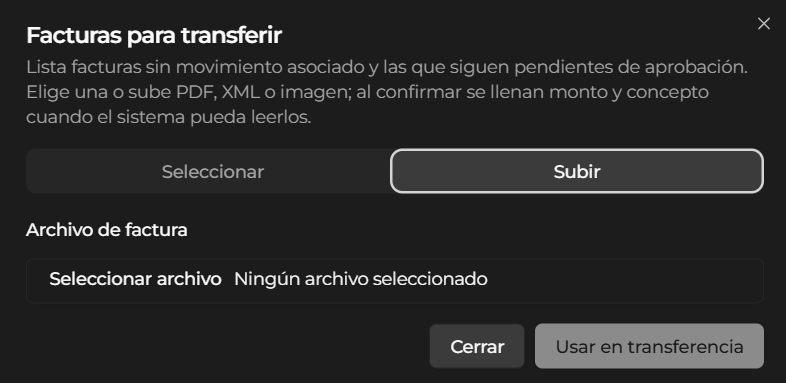
- Select one or multiple invoices
- Upload new documents
- Continue without selecting documents
Beneficiary information
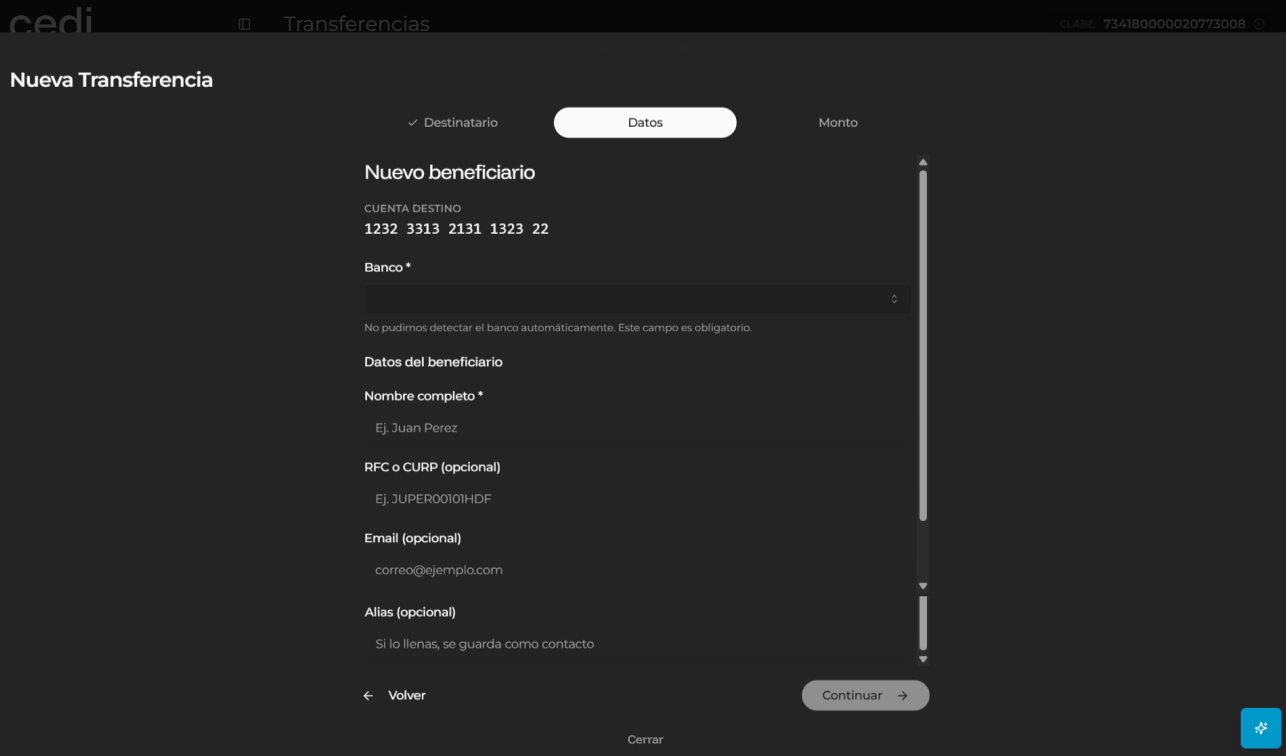
Subsequently, the system displays the “New beneficiary” form, where you must enter the information corresponding to the person or company that will receive the transfer. The requested data includes:- CLABE or account number
- Bank
- Beneficiary name
- RFC or CURP
- Email address
- Beneficiary alias (optional)
Transfer amount and details
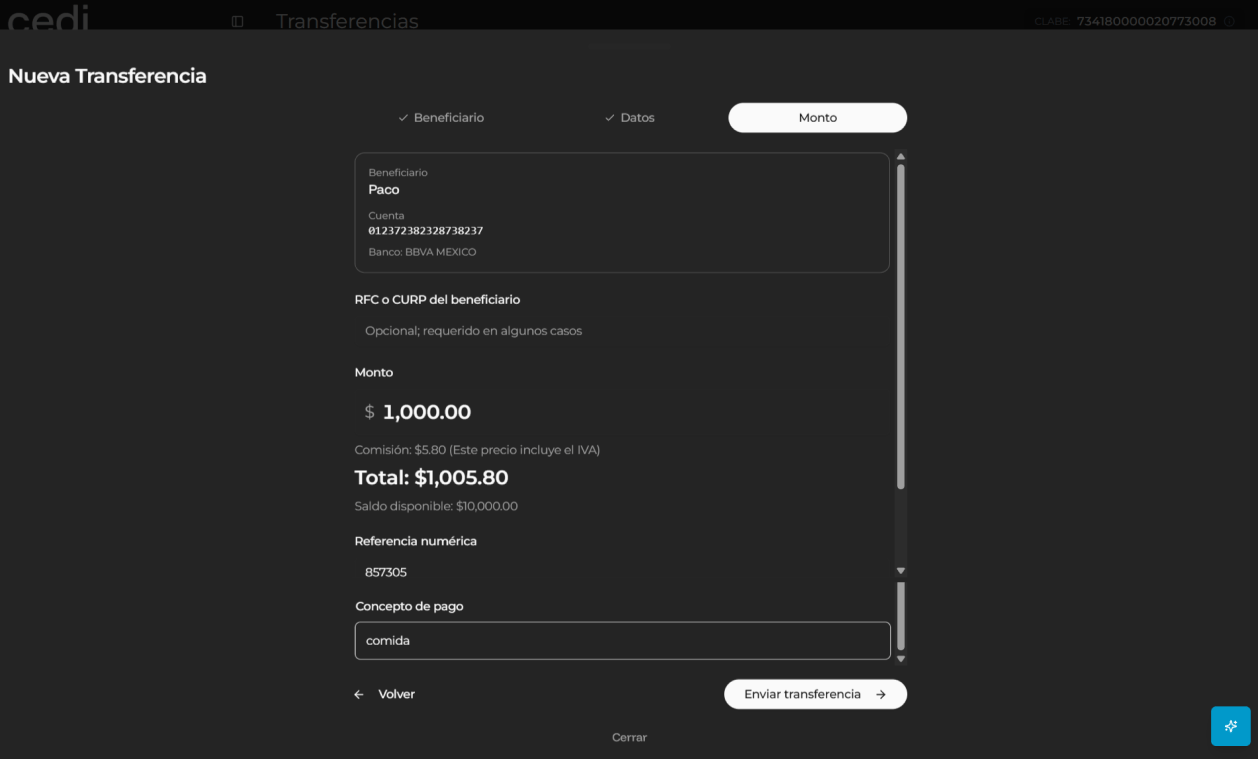
On the next screen, the system displays the “Amount” form, where you must enter the financial information of the operation. The requested fields include:- Amount to transfer
- Payment concept
- Reference
- Description or reason for the transfer
Security verification
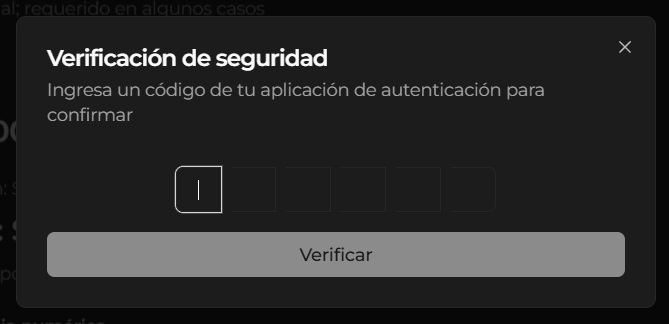
Before completing the transfer, the system displays the “Security verification” window, where you are asked to enter an authentication code to confirm the operation. This code corresponds to the previously configured security mechanism, such as two-factor authentication (2FA). You must enter the code in the corresponding field and select the “Verify” option.Operation confirmation
Once the security code has been successfully validated, the system processes the transfer. At the end of the process, the system:- Confirms that the transfer was successfully completed
- Updates the available balance
- Records the movement in the “Recent Movements” section